Administration
Start the ephemeral Admin Service
Since the Admin Service automatically shuts down after 5 minutes of idling, you will likely have to start it up.
- From project root / utils run node credential-manager.js
- Open a browser and go to the address displayed on the command line.
- Use the credentials generated during Bootstrapping to authenticate to the Admin Portal
Communication Server
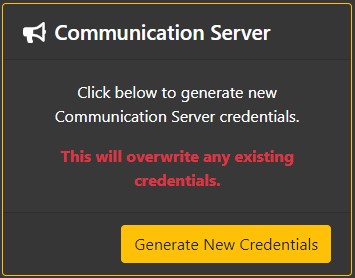
If you need to update the credentials used by the built in communication service, you can do so by clicking on the "Generate New Credentials" button in the Communication Server section on the Dashboard.
Please note that after making the change, you'll need to update the COMM_SERVER_KEY environment variable to contain the new key and restart the Privakey CX server.
App Spaces
An App Space is a representation on the server of a challenge ecosystem. The components are an app that runs on user devices, as well as Request Origins that initiate challenges.
To create a new App Space:
- In the App Spaces / IDPs section, click "Create New App Space"
- Enter a descriptive name for the App Space in the name field
- Select Identity Provider Type
Identity Provider Types
There are two mechanisms by which apps can be bound to App Spaces: Simple and OpenID Connect
Simple
With Simple binding, a Request Origin initiates the binding process with the Bind Account API call. Using this mechanism, all user account management must be done via API calls.
OpenID Connect
When using OpenID Connect binding, the Privakey CX server will use an OpenID Connect Identity Provider for authentication, and store access tokens in its database. Using this mechanism, if the Identity Provider renders access tokens as invalid, the user will be automatically prevented from responding to challenges.
OpenID Connect requires some additional configuration items:
- OIDC Server Name - A descriptive name for the OpenID Connect Server
- OIDC Discovery URL - The discovery endpoint for the OpenID Connect Server
- Client Id - The client id from the OpenID Connect Server
- Secret - The client secret from the OpenID Connect Server
- App Protocol - This is the protocol that the app will register so Privakey CX can redirect to the app after completing the OpenID Connect authentication. E.g. myapp://
- Token Fail Behavior - This determines what Privakey CX should do if it is unable to validate or refresh an access token
- Suspend User - The Privakey CX user account is suspended and may be recovered
- Revoke User - The Privakey CX user account is revoked and may not be recovered. In this case a new account would be created if the user's account with the OpenID Connect Server becomes active
- Do Nothing - The status of the Privakey CX user account will not change
On the OpenID Connect Server, the configuration must be updated to include a callback url to the Privakey CX Server. This callback url will be formatted as follows:
https://<privakey CX host name>/api/idp/oidc/verify
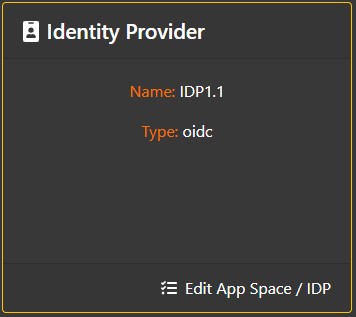
To change any of the IDP Settings, click on the "Edit IDP" link in the Identity Provider section of the App Space Overview Page.
Request Origins
Each App Space can have multiple Request Origins. These Request Origins represent distinct services that will be issuing challenges.
To add / edit Request Origins, click on the "View / Manage all Request Origins" link in the Request Origins section of the App Space Overview Page.
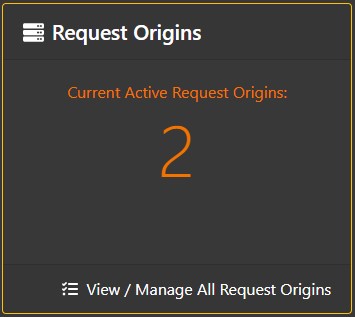
From the App Space Request Origins Page, you can create a new Request Origin by clicking the "Create New" link, or edit an existing Request Origin by clicking a row in the Request Origin list

Overview
The Overview section shows the descriptive name of the Request Origin, and the User Id and authentication type (Basic or HMAC) it will use to authenticate to the Privakey CX API

Configured Callback URLs
When requesting a challenge be sent to a user, a Request Origin can specify a callback URL which Privakey CX will call after the challenge has been processed. These callback URLs must be registered in advance by clicking the "Add Callback" link in the Configured Callback URLs section.
Note: Callback URLs can use {*} as a wildcard to allow for simpler configuration. For example, rather than specifying both https://www.privakey.com/new/example and https://www.privakey.com/different/example as callbacks, you can more efficiently use https://www.privakey.com/{*}/example as the callback URL

Generate New Secret
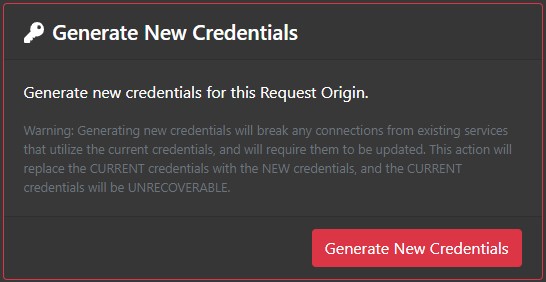
If the secret key for the Request Origin is lost, it cannot be recovered, but a new one can be generated in its place. Just click the "Generate New Secret" button in the Generate New Secret section.
Switch Credential Type
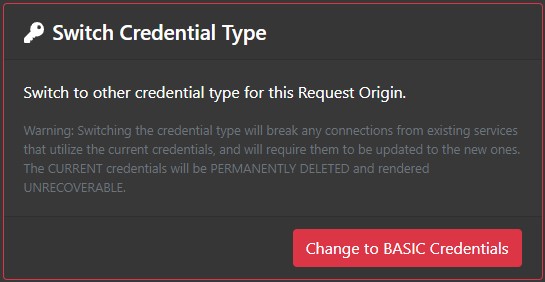
If the Request Origin needs to switch from HMAC to Basic authentication, or vice versa, click the "Change to BASIC/HMAC Credentials" button in the Switch Credential Type Section. This will change the authentication mechanism and generate a new secret key.
Revoke Request Origin Credentials
If a Request Origin needs to be disabled, click the "Revoke Credentials" button in the Revoke Request Origin Credentials section. This will prevent the Request Origin from initiating any challenges. After credentials have been revoked, a new key can be generated to re-enable the Request Origin, but the Request Origin will need to be updated to use that new key

Delete Request Origin
After a Request Origin's credentials have been revoked, the Revoke Request Origin Credentials section changes to Delete Request Origin, which allows a Request Origin to be permanently deleted from the system. Do so by clicking the "Delete Request Origin" button.

Active Users
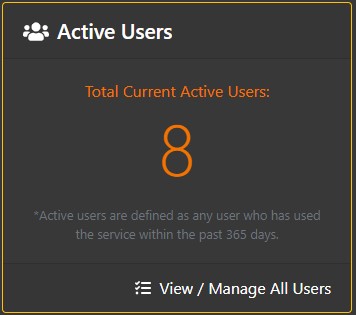
User management is on the Users page, which is accessed by clicking the "View / Manage all users" link in the Active Users section of the App Space Overview page.
If the App Space is using Simple binding, then users may be suspended / resumed from the Users page by clicking the "Suspend" / "Resume" button in the Action column.
If the App Space is using OpenID Connect, this feature is not available, as the Identity Provider would be responsible for suspending accounts and Privakey CX will respect that designation according to the configuration as laid out above.
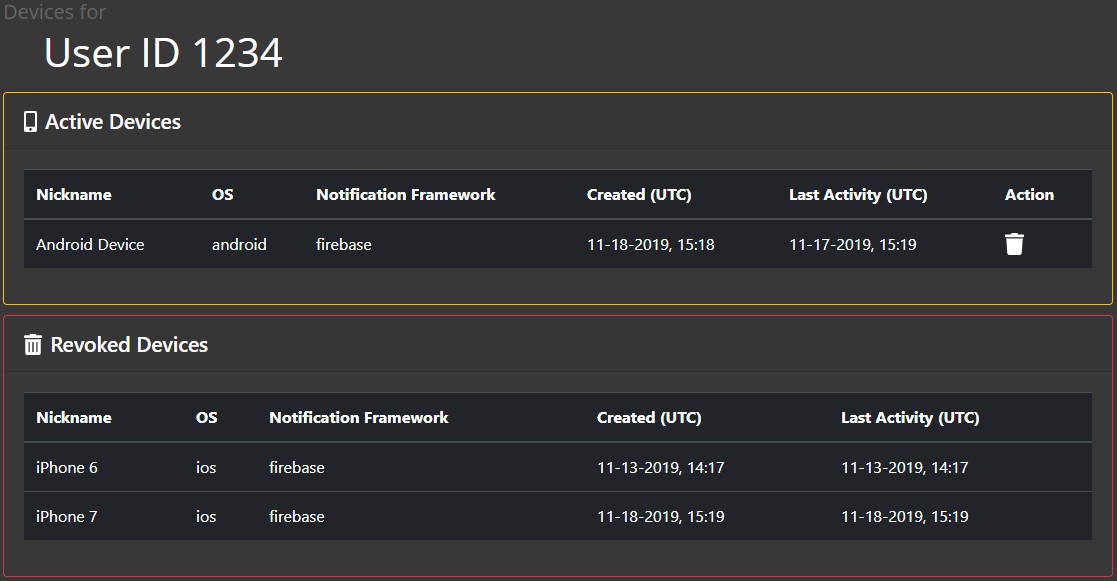
Clicking on the "Devices" link in the Action column will show a list of a user's active and revoked devices. Any active device can be revoked by clicking on the trash can in the Action column on the individual user's page.
Updated about 6 years ago
